
Installation
The WonderTexture deployment is a two-stage process: you must first install the core rendering engine, followed by the Blender addon frontend. Do not skip the engine installation, or the node graph will fail to execute.
Initial Extraction
Upon purchasing WonderTexture, download the master .rar archive. We recommend creating a new folder on your Desktop and extracting the contents there. Your extracted directory should contain the following structure:
- wondertexture_addon.zip // Do not unzip this file
- wondertexture_setup.exe // Core engine installer
- wondertexture_installation_guide.pdf
1. Engine Installation
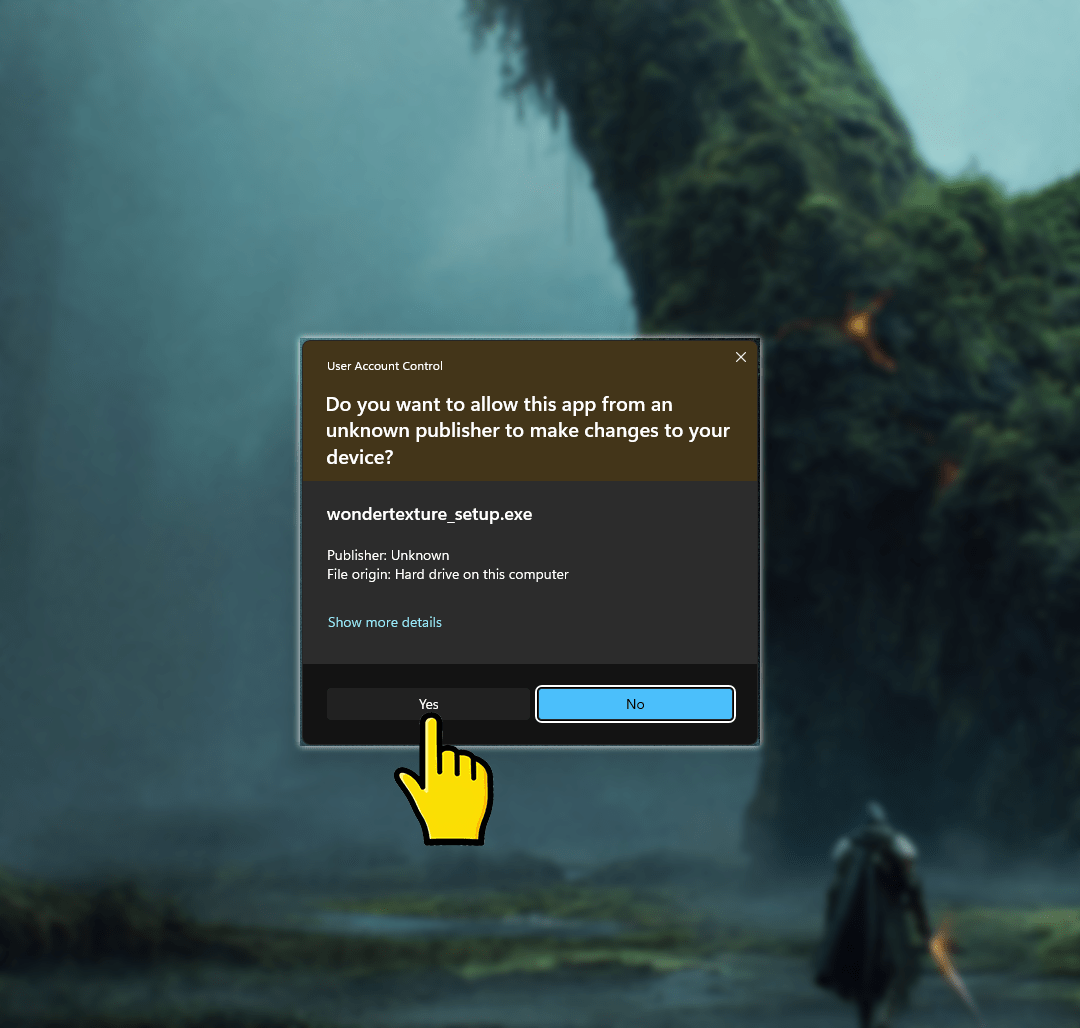
wondertexture_setup.exe file to begin the engine installation. Because the software interacts closely with your GPU, Windows User Account Control (UAC) will prompt you for permission.
Click “Yes” to authorize the installer.
By default, the engine installs to C:\Program Files\WonderTexture. We highly recommend leaving it at this default path. The Blender addon is hardcoded to look for the engine here first. If you change it, you will need to manually link the executable later.
During installation, background requirements like Visual C++ Redistributable will be installed automatically if your system is missing them. Click “Finish” when done.

2. Addon Installation
With the engine installed, open Blender. Navigate to Edit → Preferences → Add-ons. Click the arrow/install icon in the top right corner and select Install from Disk…
Locate the wondertexture_addon.zip file you extracted earlier and install it. Enable the checkbox next to the addon name to activate it.
1. Go to Windows Settings → System → Display → Graphics settings.
2. Click Add Desktop App (or Browse) and locate WonderTextureEngine.exe (Default: C:\Program Files\WonderTexture).
3. Once added to the list, click Options and select High-performance NVIDIA/AMD processor.
3. Verification Test
To ensure the backend engine and Blender frontend are communicating correctly, perform this rapid diagnostic test:
- SOpen WonderTexture Node Tree editor.
- Click New to create a fresh node graph.
- Add an Output Node (graphs without an output node will not compile).
- Press Shift + A, add a Perlin Noise node, and wire it to the Output.
- Click the red Start Engine button located in the node editor header.
If a visual preview generates on the node, system installation is successful. You are ready to build.

Reach out to us directly for support:
Discord: Check the #bug-reports channel.
Email: contact@wondertexture.com
Superhive: Superhive Contact Creator